Objectives when testing a platform authenticator
Test the functionality of a platform authenticator using the Passkeys Debugger. This will verify that the device's built-in authentication hardware (hardware security module like TPM or secure enclave) works for both operations passkey creation and passkey login.
Prerequisites for testing a platform authenticator
- A device (e.g. laptop, smartphone) with a built-in platform authenticator (e.g., Face ID, Touch ID, Windows Hello).
- A web browser that supports WebAuthn (latest versions of Chrome, Firefox, Edge, or Safari).
Devices that are needed to test a platform authenticator
Device A: The testing will be conducted on the device with the platform authenticator.
Outcome
We will generate a platform authenticator test which we can share with other developers, archive after in documentation or use as a bug report.
Step-by-step Guide – How to test a platform authenticator?
- Start debugging: Open a fresh Passkeys Debugger session: Navigate to https://www.passkeys-debugger.io on Device A. If you have already used it on the device, click "Reset state".
- Prepare debugging: Validate that the platform authenticator is activated. Take a look at the first two boxes:
- WebAuthn needs to be ticked
- Platform Auth needs to be ticked
- If one of the boxes is not ticked: platform authentication will not work, and you will need to activate the authenticator first (see our guides for Windows, iOS, and Android)
- Passkey Creation – Select Tab “Passkey Creation”:Under the "Passkey Creation" tab, ensure the "Authenticator Attachment" setting is set to "Platform". For testing platform authenticators, you can keep the default settings.
- (Optional) Passkey Creation - Configure Additional Settings: For a standard passkey platform authenticator test, you can leave all options on the default setting.
- Passkey Creation - Start:Click the "Start Passkey Creation" button. The browser will prompt you to use the platform authenticator (e.g., Touch ID, Windows Hello).
- Passkey Creation - Complete: Use the built-in authentication method (fingerprint, facial recognition, or PIN) to complete the passkey creation.
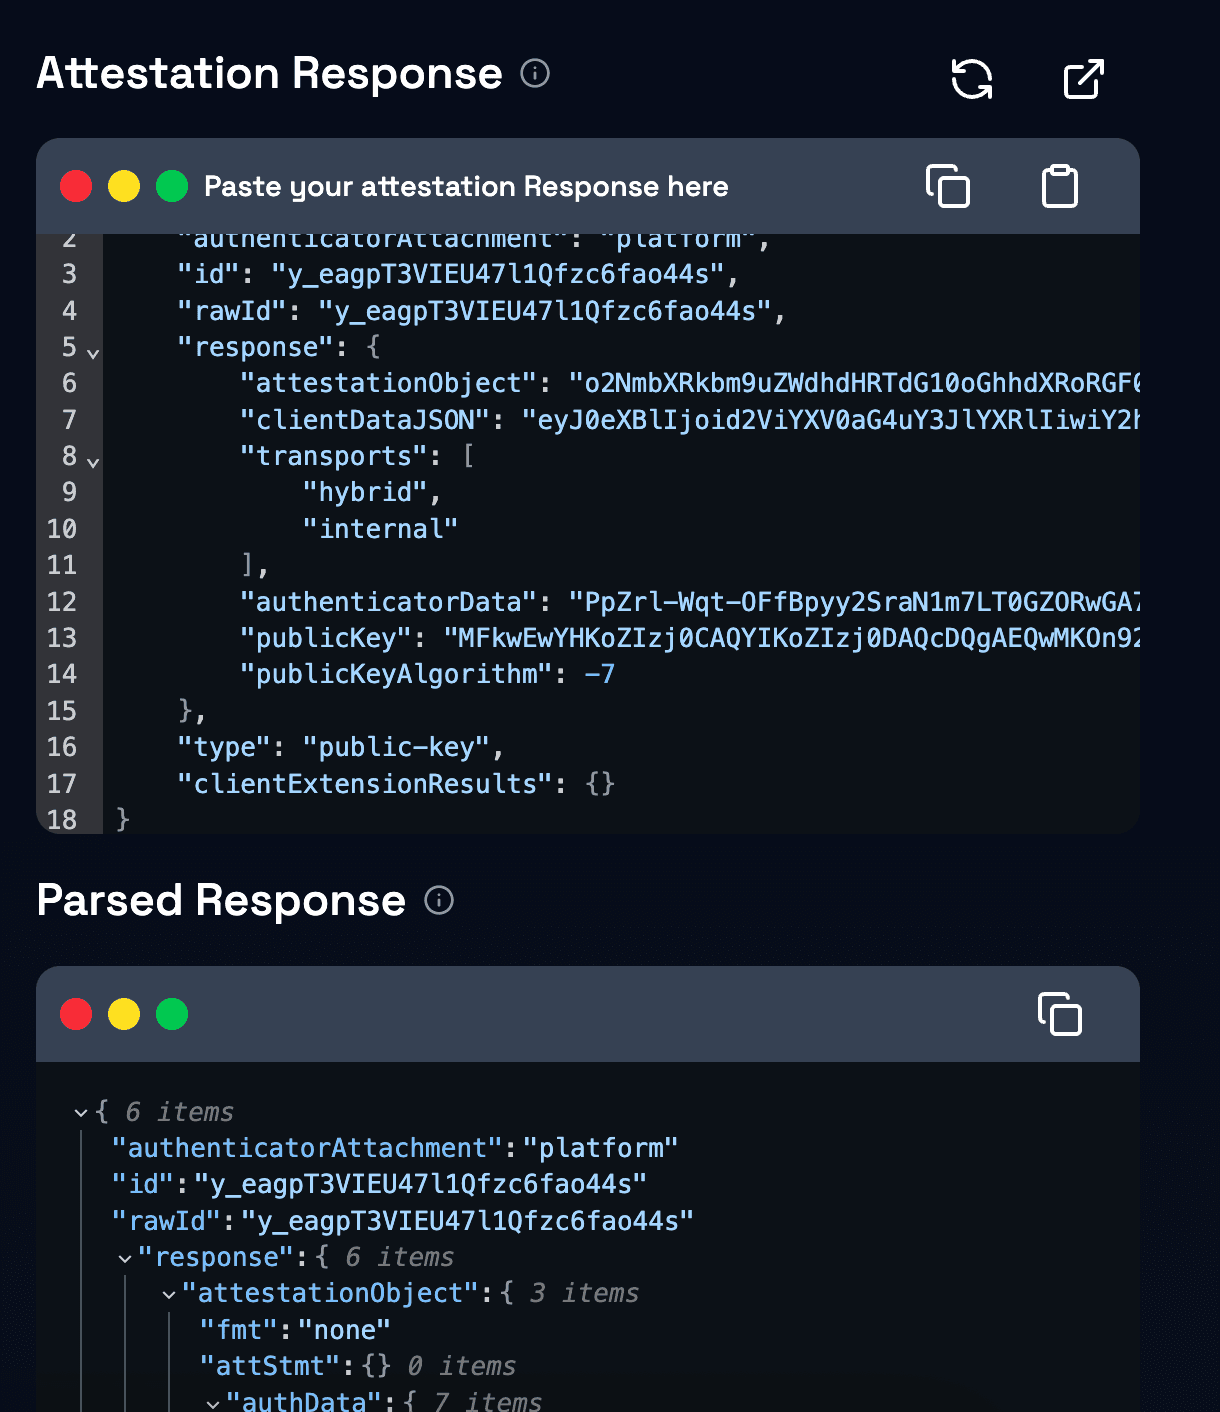
- Passkey Creation - Review Attestation Response:Check the "Parsed Attestation Response" to verify that the platform authenticator successfully generated the attestation object.
- On the top side: You can see the raw version of the attestation response that is not decoded yet.
- On the bottom side: You can see the parsed version of the attestation response. It has been decoded.
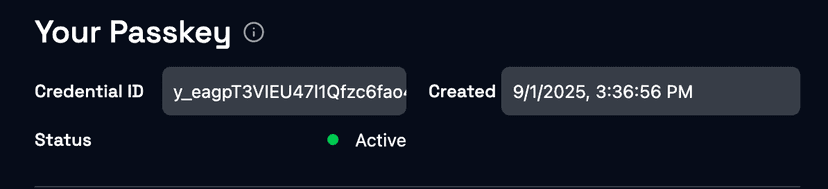
- At the top of the page, you will notice the the passkey has been created, with the Username you have provided or the default Username.
- Passkey Login – Select Tab “Passkey Login:Change to the "Passkey Login" tab.
- (Optional) Passkey Login - Configure Additional Settings: For a standard passkey platform authenticator login, you can leave all options on the default setting.
- Passkey Login – Start:Click the "Start Passkey Login" button. The browser will prompt you to use the platform authenticator (e.g., Face ID, Touch ID, Windows Hello).
- Passkey Login - Complete: Use the built-in authentication method (fingerprint, facial recognition, or PIN) to complete the login.
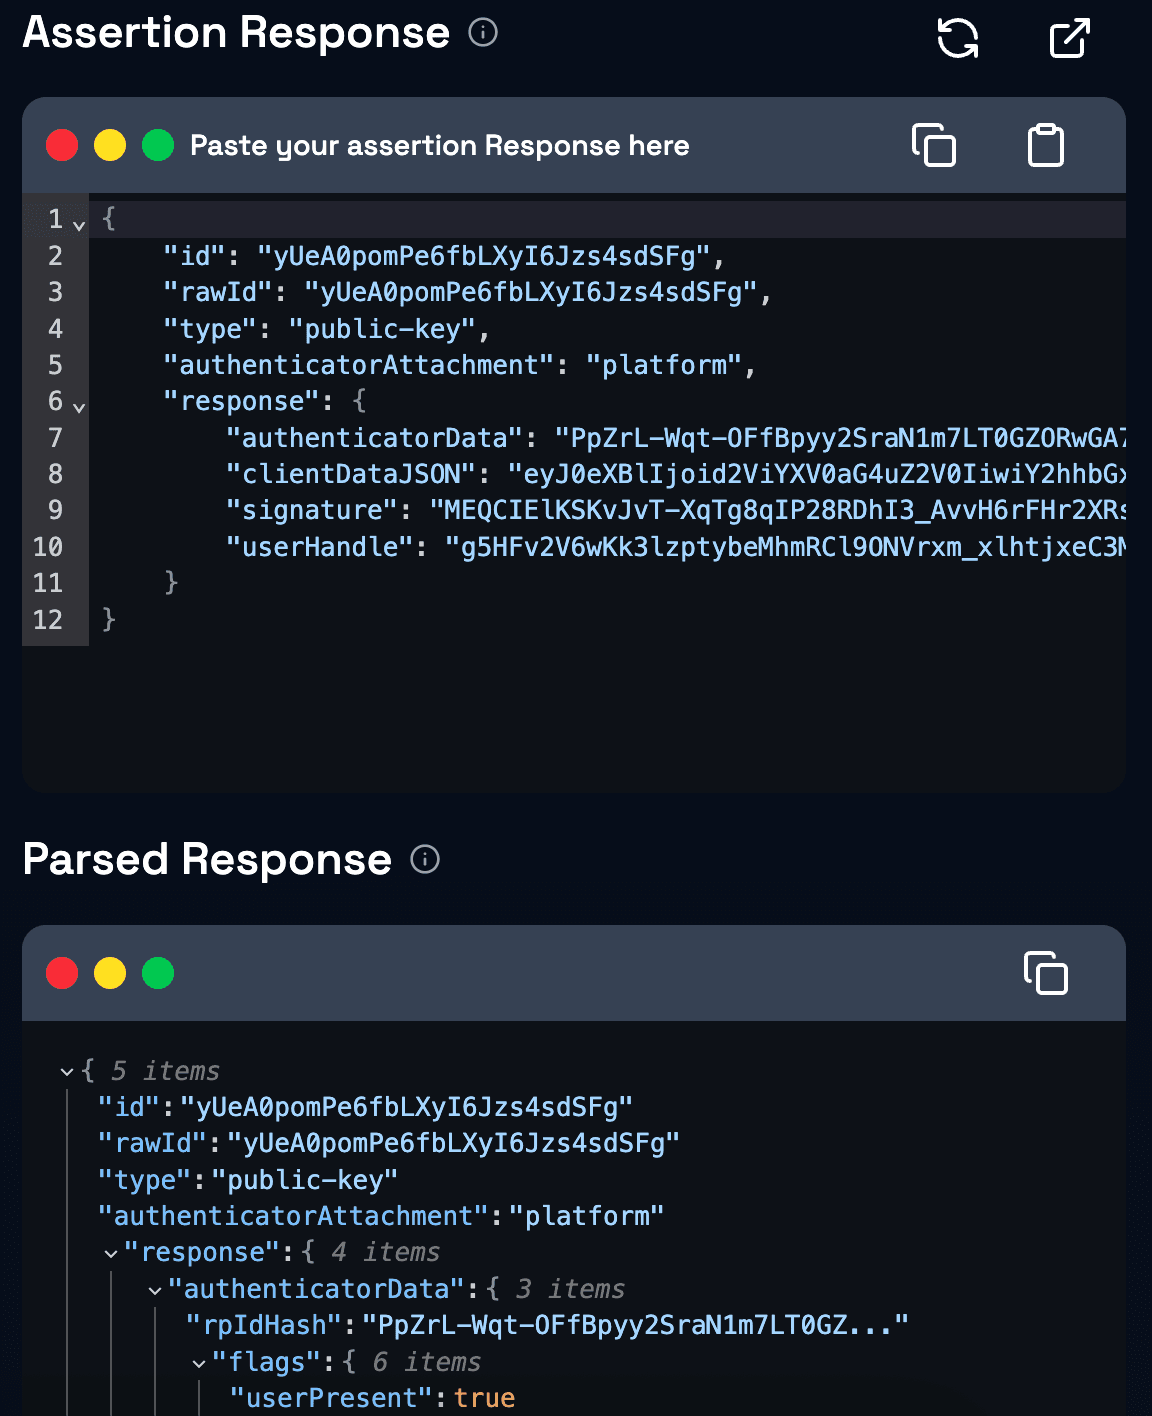
- Passkey Login - Review Assertion Response:Check the "Parsed Assertion Response" to verify that the platform authenticator successfully generated the assertion response.
- On the top side: You can see the raw version of the assertion response that is not decoded yet.
- On the bottom side: You can see the parsed version of the assertion response. It has been decoded.
- - Device-bound or synced passkey: The flags are easily readable you can find out of backedupEligible & backedStatus are both true.
- - User verification: You can find out of strong user verification has been completed by verifying userPresent & userVerified are both true.
- Share debugging result: You have concluded and recorded a full testing session, all information can now be shared with the URL of your test. You can:
- Re-visit the test: You can revisit your testcase in the future. You may want to link the Passkey Debugger directly in your Wiki.
- Use results: You can let other people create test cases for you on rare devices and send you the results.
- Start testing different options: You can now go back and test different settings and scenarios.
- Look at recorded meta-data: Additional information is recorded with the test, so you can lookup in which device (user-agent, client hints) and under which configuration it has been completed (Bluetooth).

Implementation guides for many frameworks
Implementing passkeys in your framework
Explore our comprehensive guides on implementing passkeys across various frameworks and languages.
Enterprise passkey products
Observe passkey failures or let Corbado run passkeys
- Keep your existing IDP
- Per-user passkey journey visibility
- Device and authenticator readiness
- Support and rollout reporting
Get free passkey support
Join our Passkeys Community
Get support from our passkeys community for any kind of passkey-related question or issue you face
 +400 devs & product managers
from